Cooking Technique Blanching: A Guide to Perfectly Cooked Ingredients
Introduction
Dear Readers,
Welcome to our comprehensive guide on the cooking technique of blanching. In this article, we will explore the ins and outs of blanching, a culinary method that involves briefly cooking ingredients in boiling water, followed by immediate cooling in ice water. This technique not only helps to preserve the natural color, texture, and nutrients of the ingredients but also enhances their flavor. Whether you are a seasoned chef or an enthusiastic home cook, mastering the art of blanching will undoubtedly elevate your culinary skills. So, join us on this journey as we uncover the secrets of blanching!
The Basics: What is Blanching?

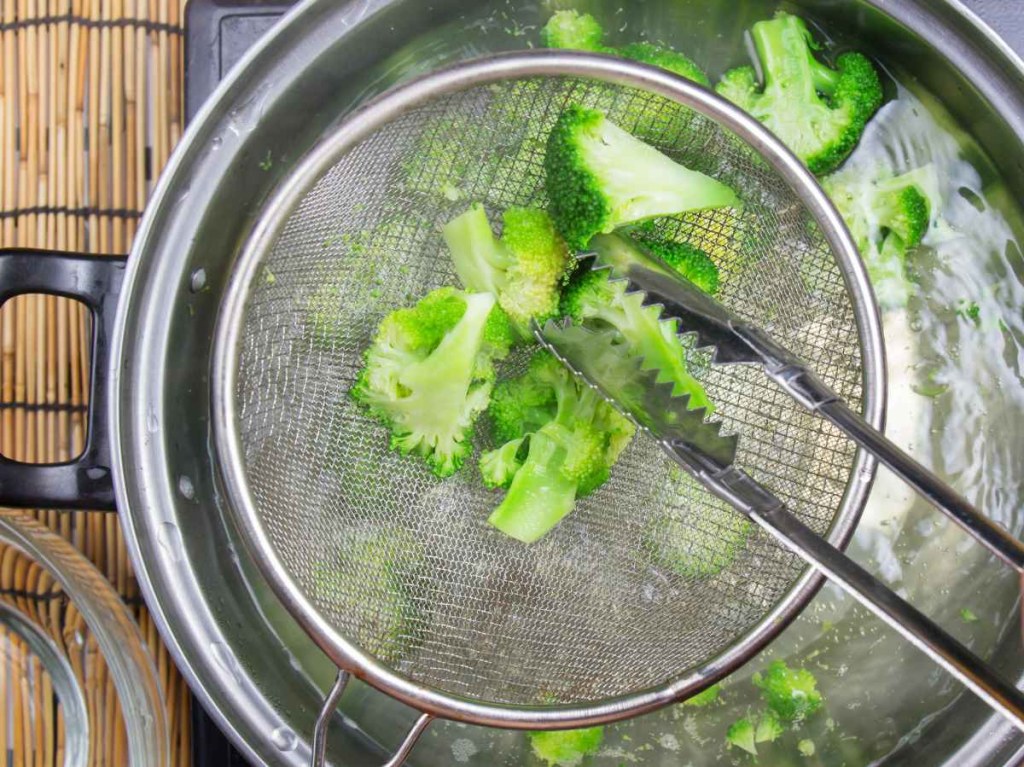
Image Source: snippetsofparis.com
🔍 Blanching is a cooking technique that involves submerging ingredients in boiling water for a short period, followed by rapid cooling. It is commonly used to prepare vegetables, fruits, and even seafood.
🔍 Who uses this technique? Chefs, both professional and amateur, utilize blanching to achieve perfectly cooked ingredients that retain their vibrant colors and flavors.
🔍 When is blanching used? Blanching is often employed as a preliminary step before freezing, canning, or incorporating ingredients into other dishes.

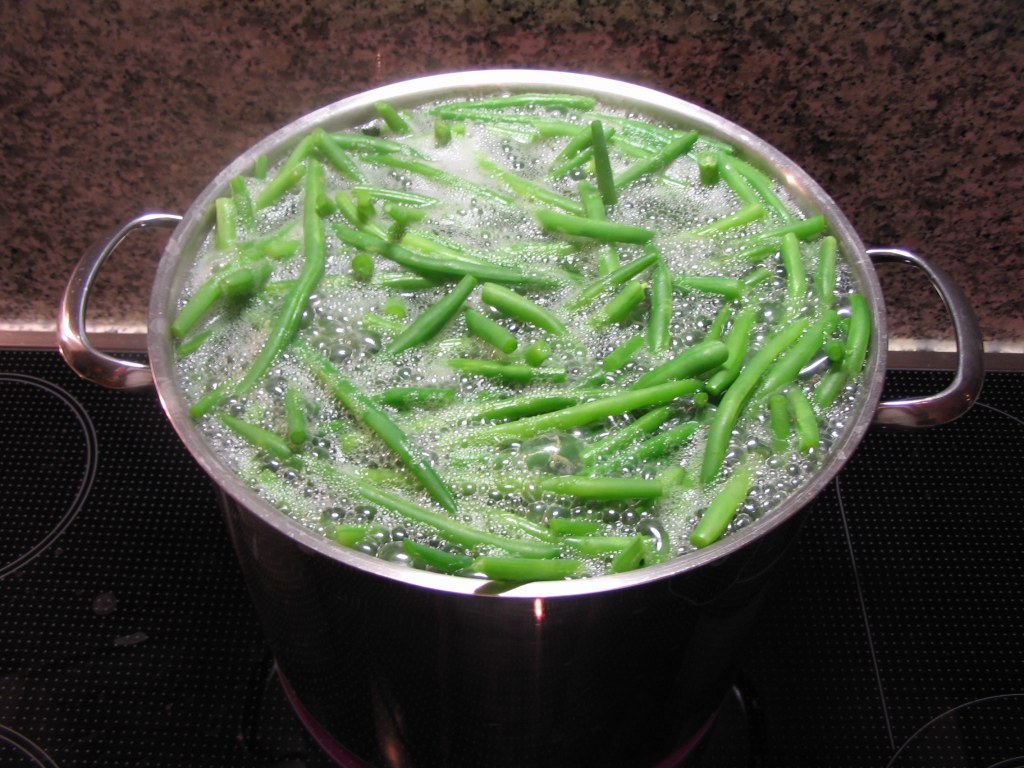
Image Source: wikimedia.org
🔍 Where can you blanch? Blanching can be done in any well-equipped kitchen. All you need is a pot of boiling water, a bowl of ice water, and your desired ingredients.
🔍 Why should you blanch? Blanching not only preserves the visual appeal of ingredients but also helps remove bitterness, softens texture, and enhances flavors. It is a versatile technique that can be applied to various dishes.
🔍 How do you blanch? The blanching process involves a series of simple steps, including boiling, shocking, and draining. Let’s dive deeper into the specifics of each step.
The Process: Step-by-Step Guide to Blanching
Step 1: Boiling the Water
🔍 Start by bringing a pot of water to a rolling boil. The amount of water should be sufficient to fully submerge the ingredients you intend to blanch.
🔍 You can enhance the flavor of the blanching liquid by adding salt, herbs, or spices to infuse subtle nuances into the ingredients.
🔍 Once the water reaches a vigorous boil, you are ready to proceed to the next step.
Step 2: Preparing the Ice Water Bath
🔍 While the water is boiling, fill a large bowl with ice water. The ice water bath serves as a quick cooling agent, halting the cooking process and preserving the vibrant color of the blanched ingredients.
🔍 Keep in mind that the ice water bath should be large enough to accommodate all the ingredients you plan to blanch.
🔍 You can also add a handful of ice cubes to ensure the water remains icy cold throughout the blanching process.
Step 3: Blanching the Ingredients
🔍 Carefully lower the ingredients into the boiling water using a slotted spoon or tongs. Ensure that they are fully submerged.
🔍 The blanching time varies depending on the type and size of the ingredient. Leafy greens usually require 1-2 minutes, while denser vegetables may need 3-5 minutes.
🔍 It is crucial to monitor the blanching process closely to avoid overcooking, as this can result in a loss of texture and nutrients.
🔍 Once the blanching time is up, promptly remove the ingredients from the boiling water and transfer them to the ice water bath using the slotted spoon or tongs.
Step 4: Shocking the Ingredients
🔍 Allow the ingredients to sit in the ice water bath for the same duration as their blanching time. This rapid cooling halts the cooking process and preserves their color, texture, and nutrients.
🔍 Gently agitate the ingredients in the ice water to ensure even cooling and encourage any residual heat to dissipate.
🔍 Once the ingredients have cooled, remove them from the ice water bath and pat them dry using a clean kitchen towel or paper towels.
Advantages and Disadvantages of Blanching
Advantages:
🔍 Preservation of color: Blanching helps retain the vibrant colors of ingredients, making them visually appealing in dishes.
🔍 Texture enhancement: This technique softens the texture of vegetables, making them more palatable.
🔍 Flavor enhancement: Blanching removes any bitter taste from ingredients, enhancing their natural flavors.
🔍 Nutrient preservation: The brief cooking time in blanching helps retain the nutrients present in the ingredients.
🔍 Versatility: Blanching can be applied to various ingredients, allowing for culinary creativity.
Disadvantages:
🔍 Nutrient loss: While blanching preserves nutrients, some water-soluble vitamins may leach into the blanching water.
🔍 Additional steps: Blanching requires extra time and effort compared to other cooking methods.
🔍 Limited use: Not all ingredients benefit from blanching, as some may lose their desired texture or flavor.
Frequently Asked Questions (FAQs)
1. Can blanching be done with frozen ingredients?
🔍 Yes, blanching can be performed with frozen ingredients. However, the blanching time may need to be slightly extended to ensure thorough cooking.
2. Is blanching necessary for all vegetables?
🔍 While blanching is not mandatory for all vegetables, it is particularly beneficial for preserving the vibrant colors and removing bitterness in certain varieties.
3. Can blanching be used for seafood?
🔍 Absolutely! Blanching seafood, such as shrimp or fish, can help maintain their delicate texture and remove any impurities.
4. Can blanched ingredients be frozen for later use?
🔍 Yes, blanched ingredients can be frozen to prolong their shelf life. However, it is essential to cool and drain them thoroughly before freezing.
5. Can blanching be used for pasta or grains?
🔍 Blanching is not typically employed for pasta or grains, as these ingredients require different cooking techniques to achieve optimal results.
Conclusion
Dear Readers, we hope that this guide has shed light on the cooking technique of blanching and its myriad benefits. By blanching your ingredients, you can elevate your culinary creations to new heights, with vibrant colors, enhanced flavors, and perfectly cooked textures. So, the next time you step into the kitchen, don’t forget to incorporate the art of blanching into your cooking repertoire. Happy blanching, and enjoy the delightful results!
Final Remarks
Disclaimer: The information provided in this article is for educational purposes only. It is recommended to consult professional chefs or culinary experts for specific cooking advice and techniques. The authors and publishers do not assume any liability for any damages or injuries resulting from the use of this information.